
Have you ever wondered how you could convert any file into an image? Imagine transforming an Excel spreadsheet, a Word document, or even the latest Batman movie into a single image. Sounds intriguing, doesn’t it? If you’re curious about how this works, this article is for you. ✅
The Basic Idea
A week ago, I was brainstorming how to convert almost anything into a consistent format. Think of it like this: You have an orange, a banana, a peach, and other fruits, and you want to turn all of them into apples. But here’s the catch—this transformation shouldn’t be one-way. You should be able to identify which apple was originally an orange, which one was a banana, and so on, so you can reverse the process and retrieve the original fruits. This was the core idea that led me to develop something fascinating—the very topic you’re reading about now.
File Format Transformation
After playing with the fruit analogy, I decided to apply the same concept to the digital world. Instead of fruits, I focused on file formats. I needed an algorithm to convert any file—ZIP, RAR, DOCX, GIF, MP4, etc.—into a valid PNG image. Why PNG? Because I wanted to visually inspect these files on my screen. Simply renaming a file (like ransomware does) wouldn’t work, as the result wouldn’t be a valid PNG. I needed a method to genuinely transform any file into a viewable PNG while ensuring the process was reversible.
Introducing PixCode
I ended up writing a simple Python script that encodes any file into a valid PNG. For example, here’s the result of encoding the Blog’s banner logo:
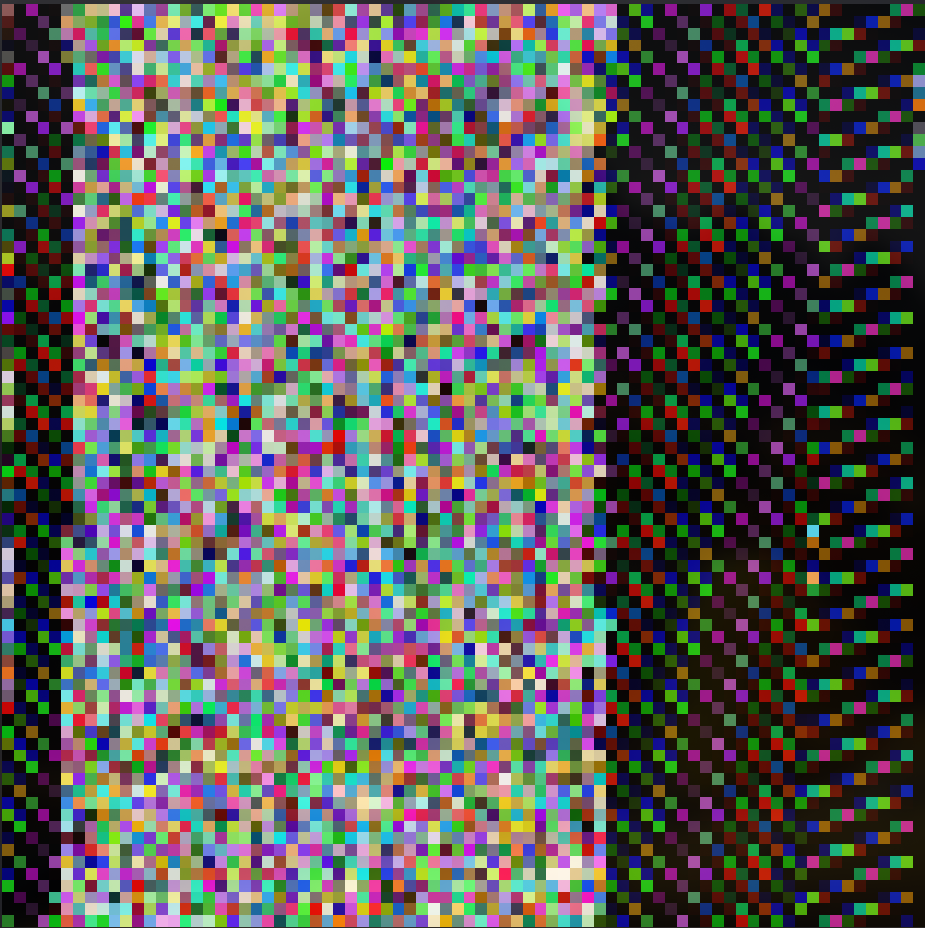
And here’s what happens when you encode a music track, like Tchaikovsky’s Nutcracker Suite:
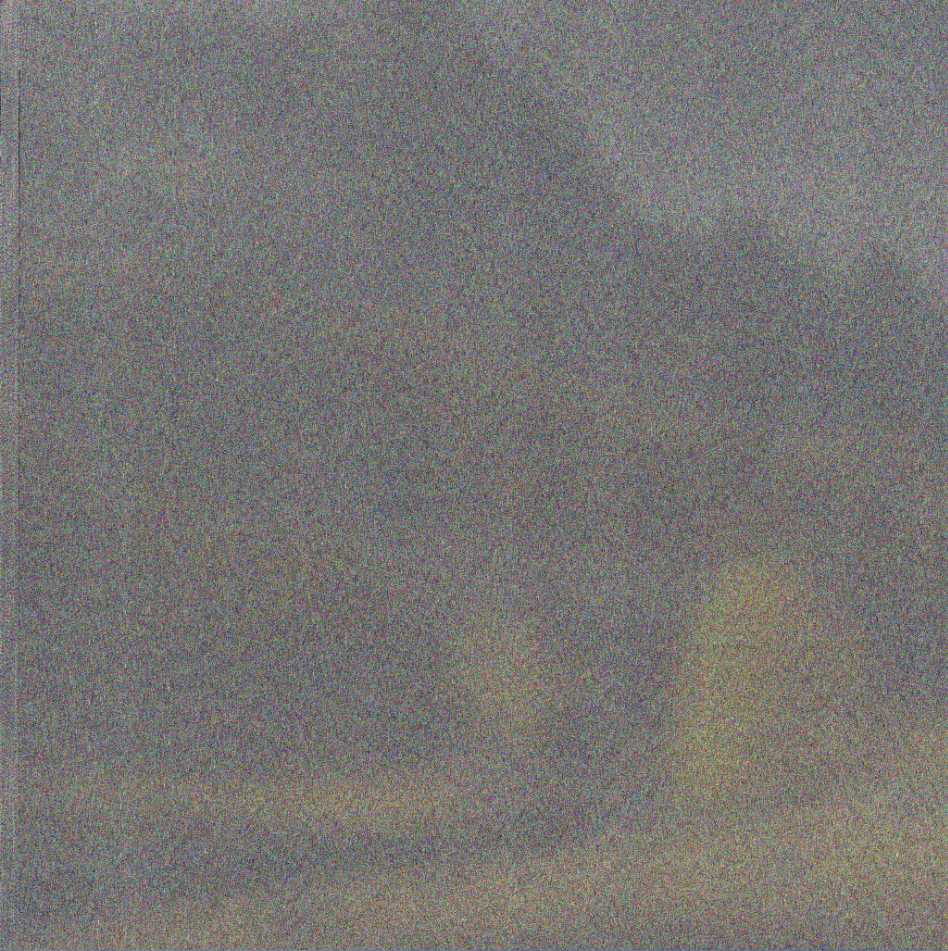
But how does this all work? How can we convert files into pixels and reverse the process? Let’s break it down.
Understanding the Basics: Number Systems and Conversions
In computing, every character has an ASCII code. For example, the ASCII code for ‘A’ is 65, and for ‘a’ it’s 97. In Python, you can convert a character to its ASCII code using the ord function:
ord('a') # Returns 97With a simple loop, you can extract the ASCII codes for an entire string. These values are in decimal, but they can also be represented in binary, octal, or hexadecimal. For our purposes, hexadecimal is ideal because colors in digital systems are often represented in hex. For instance, the hex code for red is #FF0000.
Here’s the exciting part: Every six-digit hex color code can be split into three pairs of two digits, each representing a value between 0 and 255 (RGB values). This means we can encode every three characters of a file into a single pixel of a specific color. Pretty cool, right?
The Encoding Algorithm
Let’s outline the steps of the encoding process:
- Read the file’s bytes and convert them into an array of hexadecimal values.
- Group the hex values into sets of three, with each set representing an RGB color.
- Determine the dimensions of the final image by calculating the square root of the total number of color groups (rounded up to the nearest integer).
- Map each color group to a pixel, arranging them from top-left to bottom-right, row by row.
- Save the result as a PNG file.
The Decoding Algorithm
To reverse the process:
- Read all pixels from the encoded image.
- Convert each pixel’s RGB values back into hexadecimal.
- Split the hex values into pairs of two digits.
- Convert these hex pairs into decimal numbers, then into their corresponding ASCII characters.
- Reconstruct the original file from the decoded bytes.
Challenges and Solutions
While the algorithm is straightforward, there are a few hurdles to address:
- Padding for divisibility: The total number of hex values might not be divisible by 3. To fix this, we add padding (dummy values) at the end to make the length a multiple of 3.
- Image dimensions: Calculating the exact width and height for the image requires rounding up the square root of the padded hex array length.
- Padding identification: During decoding, we need a way to ignore the padding. One solution is to use a unique marker color (e.g., a specific shade of blue) to indicate where the actual data ends.
Example: Encoding a String
Let’s encode the string: “geekhub is so cool and I love it so much”.
-
Convert to bytes:
01100111 01100101 01100101 01101011 0110100001110101 01100010 00100000 01101001 0111001100100000 01110011 01101111 00100000 0110001101101111 01101111 01101100 00100000 0110000101101110 01100100 00100000 01001001 0010000001101100 01101111 01110110 01100101 0010000001101001 01110100 00100000 01110011 0110111100100000 01101101 01110101 01100011 01101000 -
Convert to hexadecimal:
67 65 65 6b 6875 62 20 69 7320 73 6f 20 636f 6f 6c 20 616e 64 20 49 206c 6f 76 65 2069 74 20 73 6f20 6d 75 63 68 -
Calculate dimensions:
The array has 40 elements. The square root of 40 is ~6.32, so we round up to 7. The image will be 7x7 pixels. -
Add padding:
We add two dummy values (e.g.,00) to make the length 42 (divisible by 3). -
Map to pixels:
Each group of three hex values becomes an RGB color. For example,(67, 65, 65)maps to a specific shade of red, green, and blue. -
Mark the end of data:
Use a unique color (like blue) to indicate where the actual data ends, followed by black for padding.
Here’s a visual representation of the process:

Hex to RGB Conversion
Here’s a Python function to convert hex to RGB:
def hexToRgb(_hex): singleColorDigits = 2 hexArray = [_hex[i:i+singleColorDigits] for i in range(0, len(_hex), singleColorDigits)] r = int(hexArray[0], 16) if len(hexArray) >= 1 else 0 g = int(hexArray[1], 16) if len(hexArray) >= 2 else 160 # 0xA0 = 160 b = int(hexArray[2], 16) if len(hexArray) == 3 else 177 # 0xB1 = 177 return (r, g, b)Conclusion
In this article, I’ve demonstrated how to create an encoder that transforms any file into an image while ensuring the process is reversible. For more details, check out the complete source code on Github.